
Valentine Cookie Decorating: 10 Sweet Tips to Enjoy
Oh, Valentine’s Day is just around the corner, and what better way to spread some love than with homemade cookies? I absolutely adore Valentine cookie decorating because it’s such a fun and creative way to express your feelings for those special people in your life. Imagine the joy on your loved ones’ faces when they receive personalized cookies adorned with sweet designs! This activity isn’t just for the pros; it’s perfect for families too! Gather your kids, your partner, or your friends, and let the frosting fly as you turn simple cookies into delightful masterpieces. Trust me, it’s a blast!

Ingredients List
Before we dive into the baking fun, let’s gather our ingredients! You’ll want to make sure everything is ready to go so we can whip up these delightful cookies without a hitch. Here’s what you need:
- 2 cups all-purpose flour
- 1/2 cup unsalted butter, softened (make sure it’s nice and creamy!)
- 1 cup granulated sugar
- 1 egg (room temperature works best)
- 1 tsp vanilla extract (for that lovely flavor)
- 1/2 tsp baking powder (this helps them rise perfectly)
- 1/4 tsp salt (don’t skip this, it enhances the sweetness!)
- Royal icing (for decorating, you can make your own or buy pre-made)
- Food coloring (if you’re feeling adventurous with designs)
- Sprinkles (because what’s a Valentine cookie without some sparkle?)
Make sure to have everything measured out and ready! It makes the process so much smoother. And hey, if you want to personalize your cookies even more, think about adding some fun flavors or shapes. Let’s get ready to create something beautiful!
How to Prepare Instructions
Alright, let’s get into the nitty-gritty of making these adorable cookies! Follow these steps, and I promise you’ll have a tray of heart-shaped delights in no time!
Step 1: Preheat the Oven
First things first, you’ve got to preheat your oven to 350°F (175°C). This is super important because it ensures that your cookies bake evenly. If you skip this step, your cookies might end up flat and sad!
Step 2: Cream Butter and Sugar
In a large bowl, cream together the softened butter and granulated sugar. Use an electric mixer if you have one; you want a light and fluffy texture here—think clouds! This usually takes about 2-3 minutes. Trust me, the fluffiness is key to those delicious cookies!
Step 3: Add Egg and Vanilla
Next, add in your egg and vanilla extract. Mix it all together until it’s well combined. You should see a smooth, creamy mixture—this is where all that flavor magic happens!
Step 4: Combine Dry Ingredients
In another bowl, whisk together the flour, baking powder, and salt. Gradually add this dry mix to your wet mixture. I like to do this in thirds, mixing gently after each addition to avoid flour clouds. We want everything to come together without over-mixing!
Step 5: Roll and Cut Dough
Now, here’s the fun part! Roll out your dough on a floured surface to about 1/4 inch thick. Use your heart-shaped cookie cutter to cut out cookies. Don’t worry if the first few aren’t perfect; they’ll still taste amazing!
Step 6: Bake Cookies
Place your cookies on a baking sheet lined with parchment paper and pop them in the oven. Bake for 8-10 minutes. You’ll know they’re done when the edges are lightly golden but the centers still look a bit soft. They’ll firm up as they cool!
Step 7: Cool Cookies
Let your cookies cool completely on a wire rack before you even think about decorating. This is crucial, or else your icing will melt right off. We want it to stick like glue!
Step 8: Prepare Royal Icing
While those cookies are cooling, let’s whip up some royal icing! You can find plenty of recipes online, but a simple mix of powdered sugar, egg whites, and a splash of lemon juice works wonders. Divide it into bowls and add your food coloring for some vibrant decorating!
Step 9: Decorate Cookies
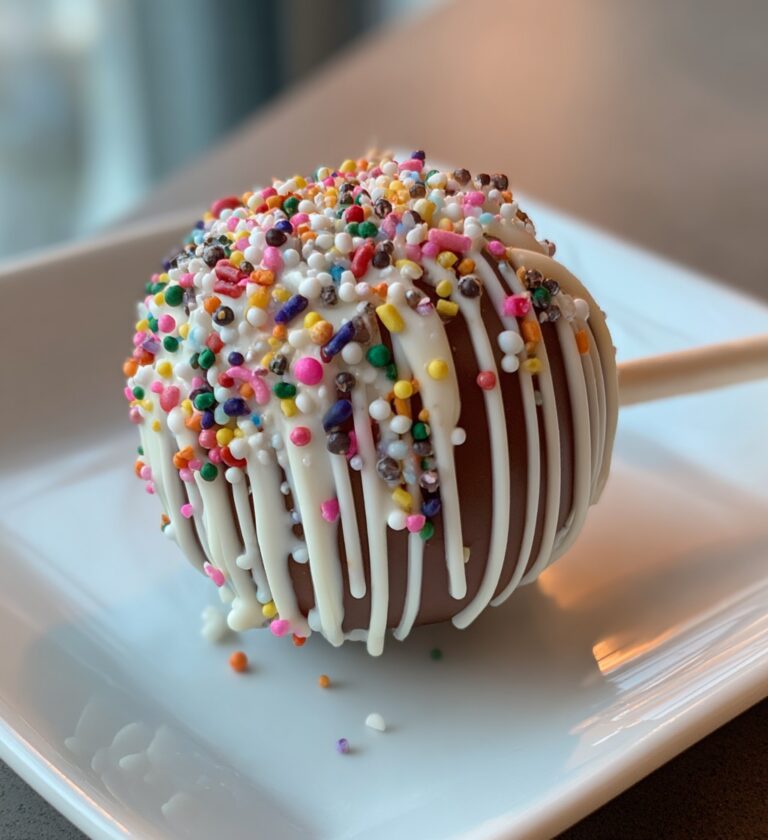
Finally, it’s time to let your creativity shine! Decorate your cooled cookies with the royal icing and sprinkle on the fun toppings. Get wild with colors and designs—the more, the merrier! Just remember, the only rule is to have fun!
Why You’ll Love This Recipe
Oh, where do I even start? Valentine cookie decorating is honestly one of the most delightful activities you can do with loved ones! Here’s why you’re going to love this recipe:
- Fun for all ages: Seriously, whether you’re 5 or 95, everyone loves getting messy with frosting and sprinkles!
- Perfect for sharing: Nothing says “I care” quite like a batch of homemade cookies gifted to friends, family, or that special someone. Trust me, they’ll appreciate the effort!
- Customizable: You can go all out with colors and designs, making each cookie a unique little work of art. Don’t be afraid to let your imagination run wild!
- Quick and easy: This recipe is straightforward, so you won’t spend all day in the kitchen. You’ll have delicious cookies ready in no time!
- A creative outlet: Decorating cookies allows you to express yourself. There’s something so fulfilling about transforming plain cookies into beautiful, edible masterpieces.
So gather your supplies and let’s spread some love with these adorable treats! You’re going to have a blast!
Tips for Success
To make sure your Valentine cookie decorating experience goes off without a hitch, I’ve got a few tried-and-true tips that’ll help you achieve the best results. Trust me, these little nuggets of wisdom can make all the difference!
- Chill the dough: If you find your dough is a bit sticky or hard to roll out, pop it in the fridge for about 30 minutes. Chilled dough is much easier to handle and gives you those perfectly shaped cookies!
- Let the icing dry: After decorating, be patient and let the icing dry completely before stacking your cookies. This step ensures that your beautiful designs stay intact and don’t end up smudged. I know it’s hard to wait, but it’s worth it!
- Experiment with shapes: While heart shapes are a classic, don’t be afraid to mix it up! Use different cookie cutters to create stars, circles, or even fun animals. Your friends and family will love the variety!
- Mix colors: Play around with different shades of food coloring in your royal icing. You can even try marbling colors together for a unique effect. The more vibrant, the better!
- Have fun with sprinkles: Sprinkles aren’t just for kids! They add a festive touch to any cookie, so go wild with different types—think edible glitter, confetti sprinkles, or themed shapes to match the occasion!
Remember, the goal is to have fun and get creative! Don’t stress about perfection—every cookie will be special in its unique way. So roll up those sleeves and let’s get decorating!
Variations
Once you’ve mastered the basic recipe, it’s time to have some fun with variations! There are so many creative ways to change up your Valentine cookie decorating and make them uniquely yours. Here are some ideas to inspire you:
- Add Different Extracts: Why not switch things up by adding a splash of almond or lemon extract to your dough? It’ll give your cookies a lovely twist in flavor that’s totally unexpected!
- Try New Shapes: While hearts are classic, don’t be afraid to break the mold! Use cookie cutters in all sorts of shapes like stars, circles, or even fun holiday-themed designs. Your friends and family will love the variety!
- Incorporate Edible Glitter: Who doesn’t love a little sparkle? Add edible glitter to your royal icing or sprinkle it on top of your cookies for a glamorous touch. It’s perfect for making your treats shine bright!
- Experiment with Flavors: Give your cookies a flavor boost by adding a bit of cocoa powder for chocolate cookies or some cinnamon for a warm spice kick. The possibilities are endless!
- Mix and Match Colors: Create a stunning ombre effect with your royal icing by mixing shades of the same color. It’ll look super chic and professional—it’s like art you can eat!
Remember, the sky’s the limit when it comes to cookie decorating. Don’t be afraid to let your creativity run wild and try out new ideas. Each batch can be a new masterpiece, and that’s what makes this activity so much fun!
Storage & Reheating Instructions
Once you’ve decorated your heart-shaped cookies, you’ll probably want to enjoy them for a few days—or maybe you’ll want to save some for later! Here’s how to keep those sweet treats fresh and delicious:
First, make sure to store your decorated cookies in an airtight container. This is crucial because it keeps them from drying out and helps maintain that delightful texture you worked so hard to achieve. I like to layer them with parchment paper in between to prevent any smudging of your beautiful icing designs. Trust me, no one wants to ruin those gorgeous decorations!
When stored properly, your cookies can last for up to a week at room temperature. If you want to keep them longer, you can also freeze them! Just place them in a freezer-safe container or bag, separating layers with parchment paper, and they’ll stay fresh for up to three months. When you’re ready to enjoy them, simply transfer them to the fridge to thaw overnight. You can also leave them at room temperature for a couple of hours if you’re in a hurry!
Now, if you find yourself wanting to warm them up a bit, just pop them in the microwave for around 10-15 seconds. Keep an eye on them, though—you want them warm, not hot! This little trick makes them feel fresh-baked again, and it’s perfect for enjoying with a cup of coffee or tea. So go ahead, store those cookies right, and savor the sweetness for days to come!
Nutritional Information
Alright, let’s talk about the nutritional information for these delightful Valentine cookies! I always think it’s good to know what you’re indulging in, right? Here’s a general idea of what you can expect per cookie:
- Calories: 150
- Fat: 6g
- Saturated Fat: 4g
- Unsaturated Fat: 2g
- Trans Fat: 0g
- Cholesterol: 20mg
- Sodium: 50mg
- Carbohydrates: 22g
- Fiber: 0g
- Sugar: 10g
- Protein: 2g
Keep in mind, these values are estimates and can vary based on specific ingredients and portion sizes. But hey, who’s counting when you’re decorating cookies with love? Just enjoy these sweet treats in moderation and share the love with those around you!
What to Do Next
Now that you’ve mastered the art of Valentine cookie decorating, I’d love to hear all about your experiences! Did you try any fun designs or flavors? Did your family have a blast decorating together? Please share your thoughts in the comments below; I can’t wait to read all about your cookie adventures!
And don’t forget to show off your beautiful creations! Snap some photos of your decorated cookies and share them on social media. Tag me so I can see your amazing work and cheer you on! Remember, the more love and creativity you put into your cookies, the sweeter the memories you’ll make. Happy decorating, my friends!
Print
Valentine Cookie Decorating: 10 Sweet Tips to Enjoy
- Total Time: 30 minutes
- Yield: 12 cookies 1x
- Diet: Vegetarian
Description
A fun and creative way to decorate cookies for Valentine’s Day.
Ingredients
- 2 cups all-purpose flour
- 1/2 cup unsalted butter, softened
- 1 cup granulated sugar
- 1 egg
- 1 tsp vanilla extract
- 1/2 tsp baking powder
- 1/4 tsp salt
- Royal icing
- Food coloring
- Sprinkles
Instructions
- Preheat your oven to 350°F (175°C).
- In a bowl, cream together the butter and sugar.
- Add the egg and vanilla extract, mixing well.
- In another bowl, whisk together flour, baking powder, and salt.
- Gradually add the dry ingredients to the wet mixture.
- Roll out the dough and cut into heart shapes.
- Place cookies on a baking sheet and bake for 8-10 minutes.
- Let the cookies cool completely.
- Prepare royal icing and divide into bowls for coloring.
- Decorate cookies with icing and sprinkles.
Notes
- Use different colors for a more festive look.
- Let icing dry completely before stacking cookies.
- Store decorated cookies in an airtight container.
- Prep Time: 20 minutes
- Cook Time: 10 minutes
- Category: Dessert
- Method: Baking
- Cuisine: American
Nutrition
- Serving Size: 1 cookie
- Calories: 150
- Sugar: 10g
- Sodium: 50mg
- Fat: 6g
- Saturated Fat: 4g
- Unsaturated Fat: 2g
- Trans Fat: 0g
- Carbohydrates: 22g
- Fiber: 0g
- Protein: 2g
- Cholesterol: 20mg
Keywords: Valentine Cookie Decorating